Load Data Into Cosmos DB with Azure Databricks
In this lab, you will populate an Azure Cosmos DB container from an existing set of data using tools built in to Azure. After importing, you will use the Azure portal to view your imported data.
If you have not already completed setup for the lab content see the instructions for Account Setup before starting this lab. This will create an Azure Cosmos DB database and container that you will use throughout the lab. You will also use Azure Databricks to import existing data into your container.
Import Lab Data Into Table
You will use Azure Databricks to import the JSON data stored in the nutrition.json file from Azure Blob Storage.
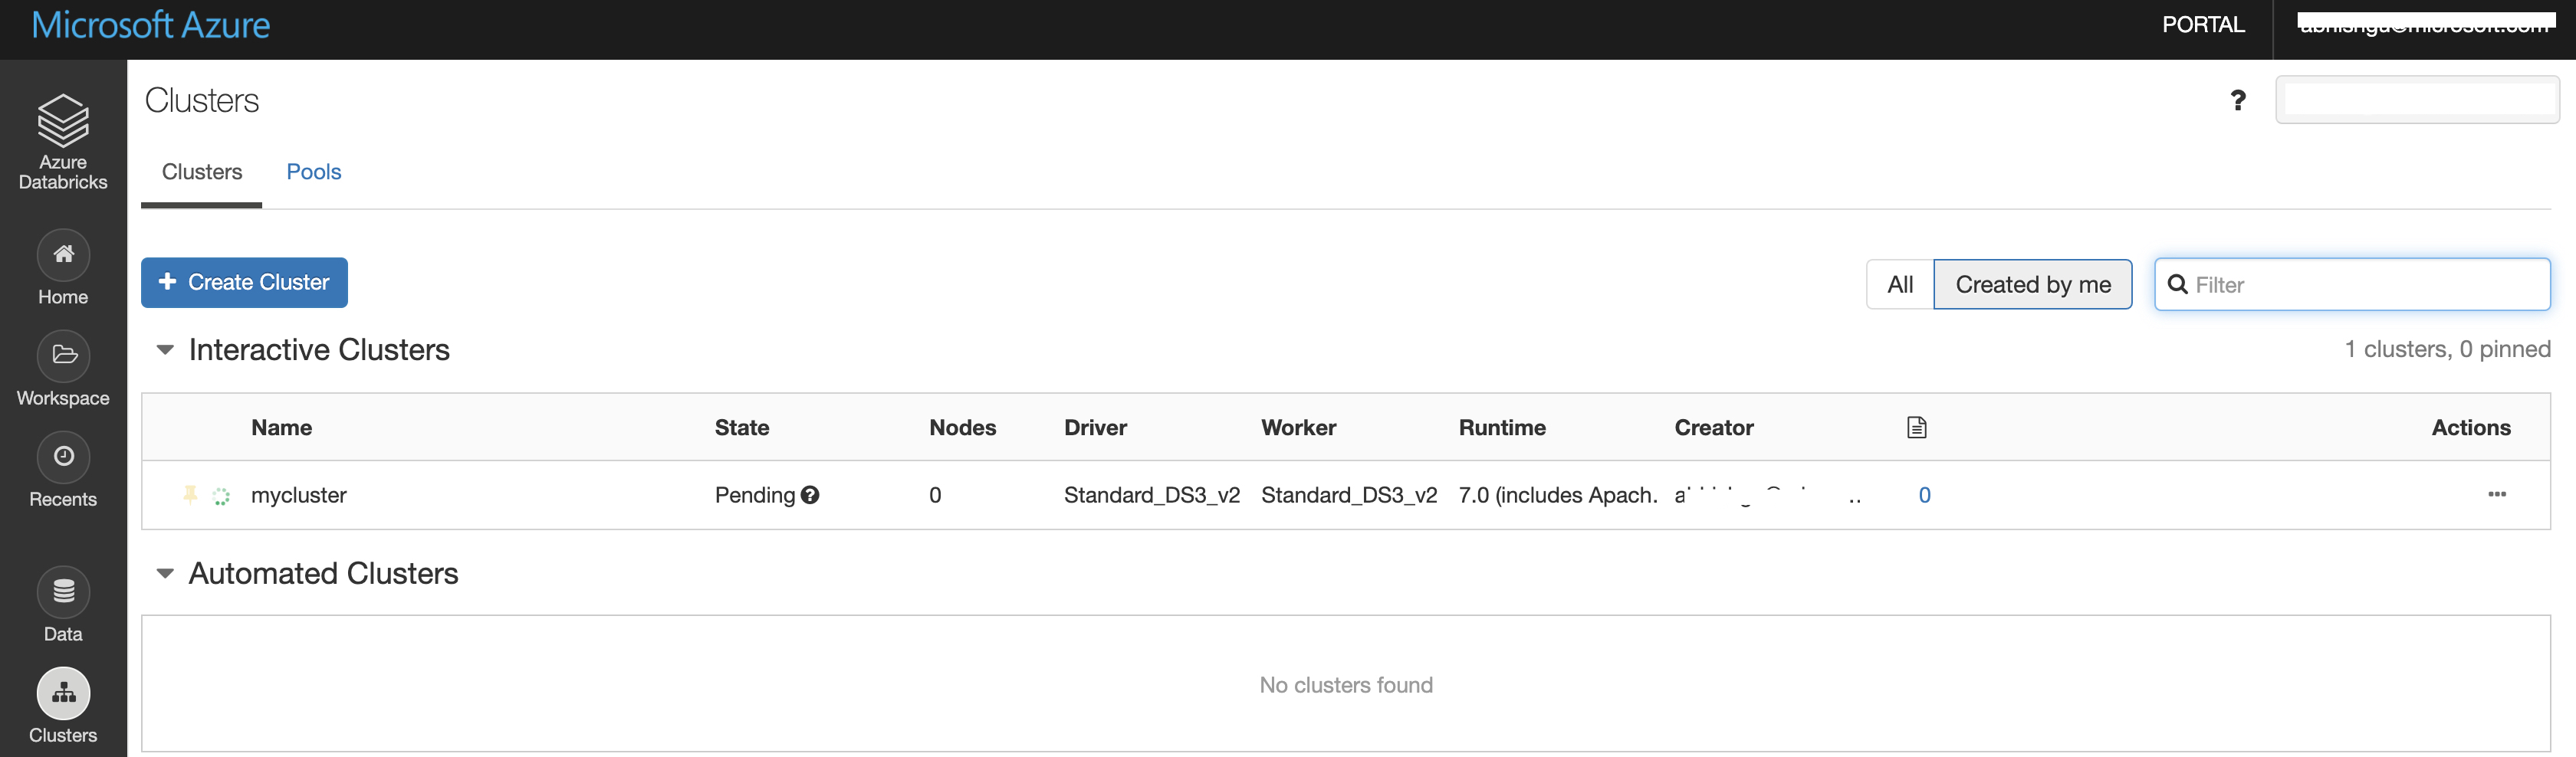
Create a Cluster
Follow these steps to create a Databricks cluster.
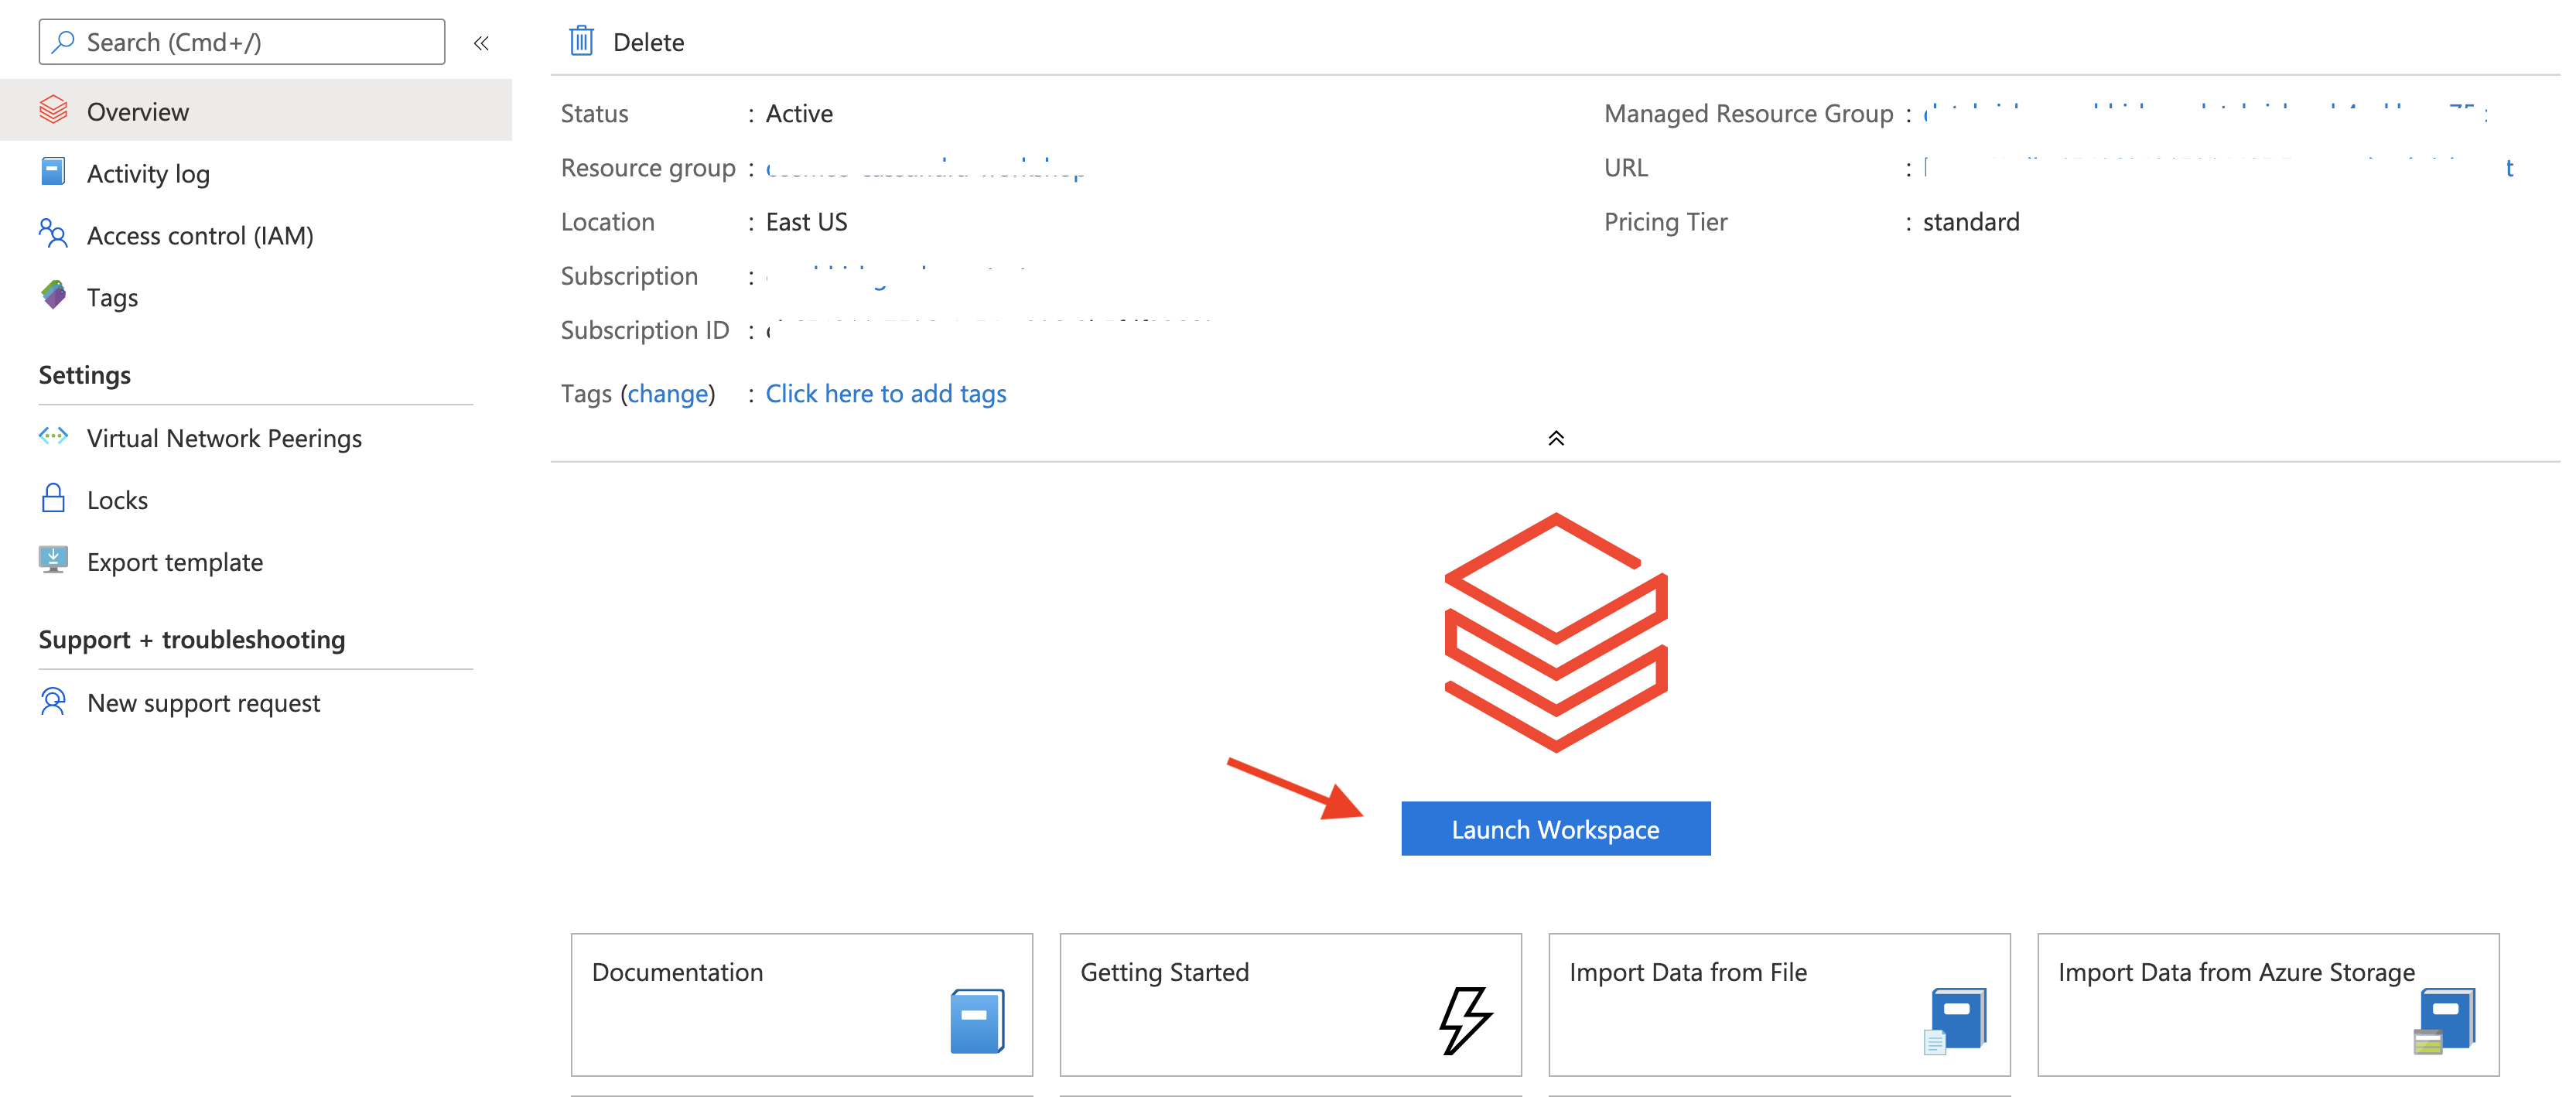
- Open your newly created Databricks instance and select Launch Workspace.
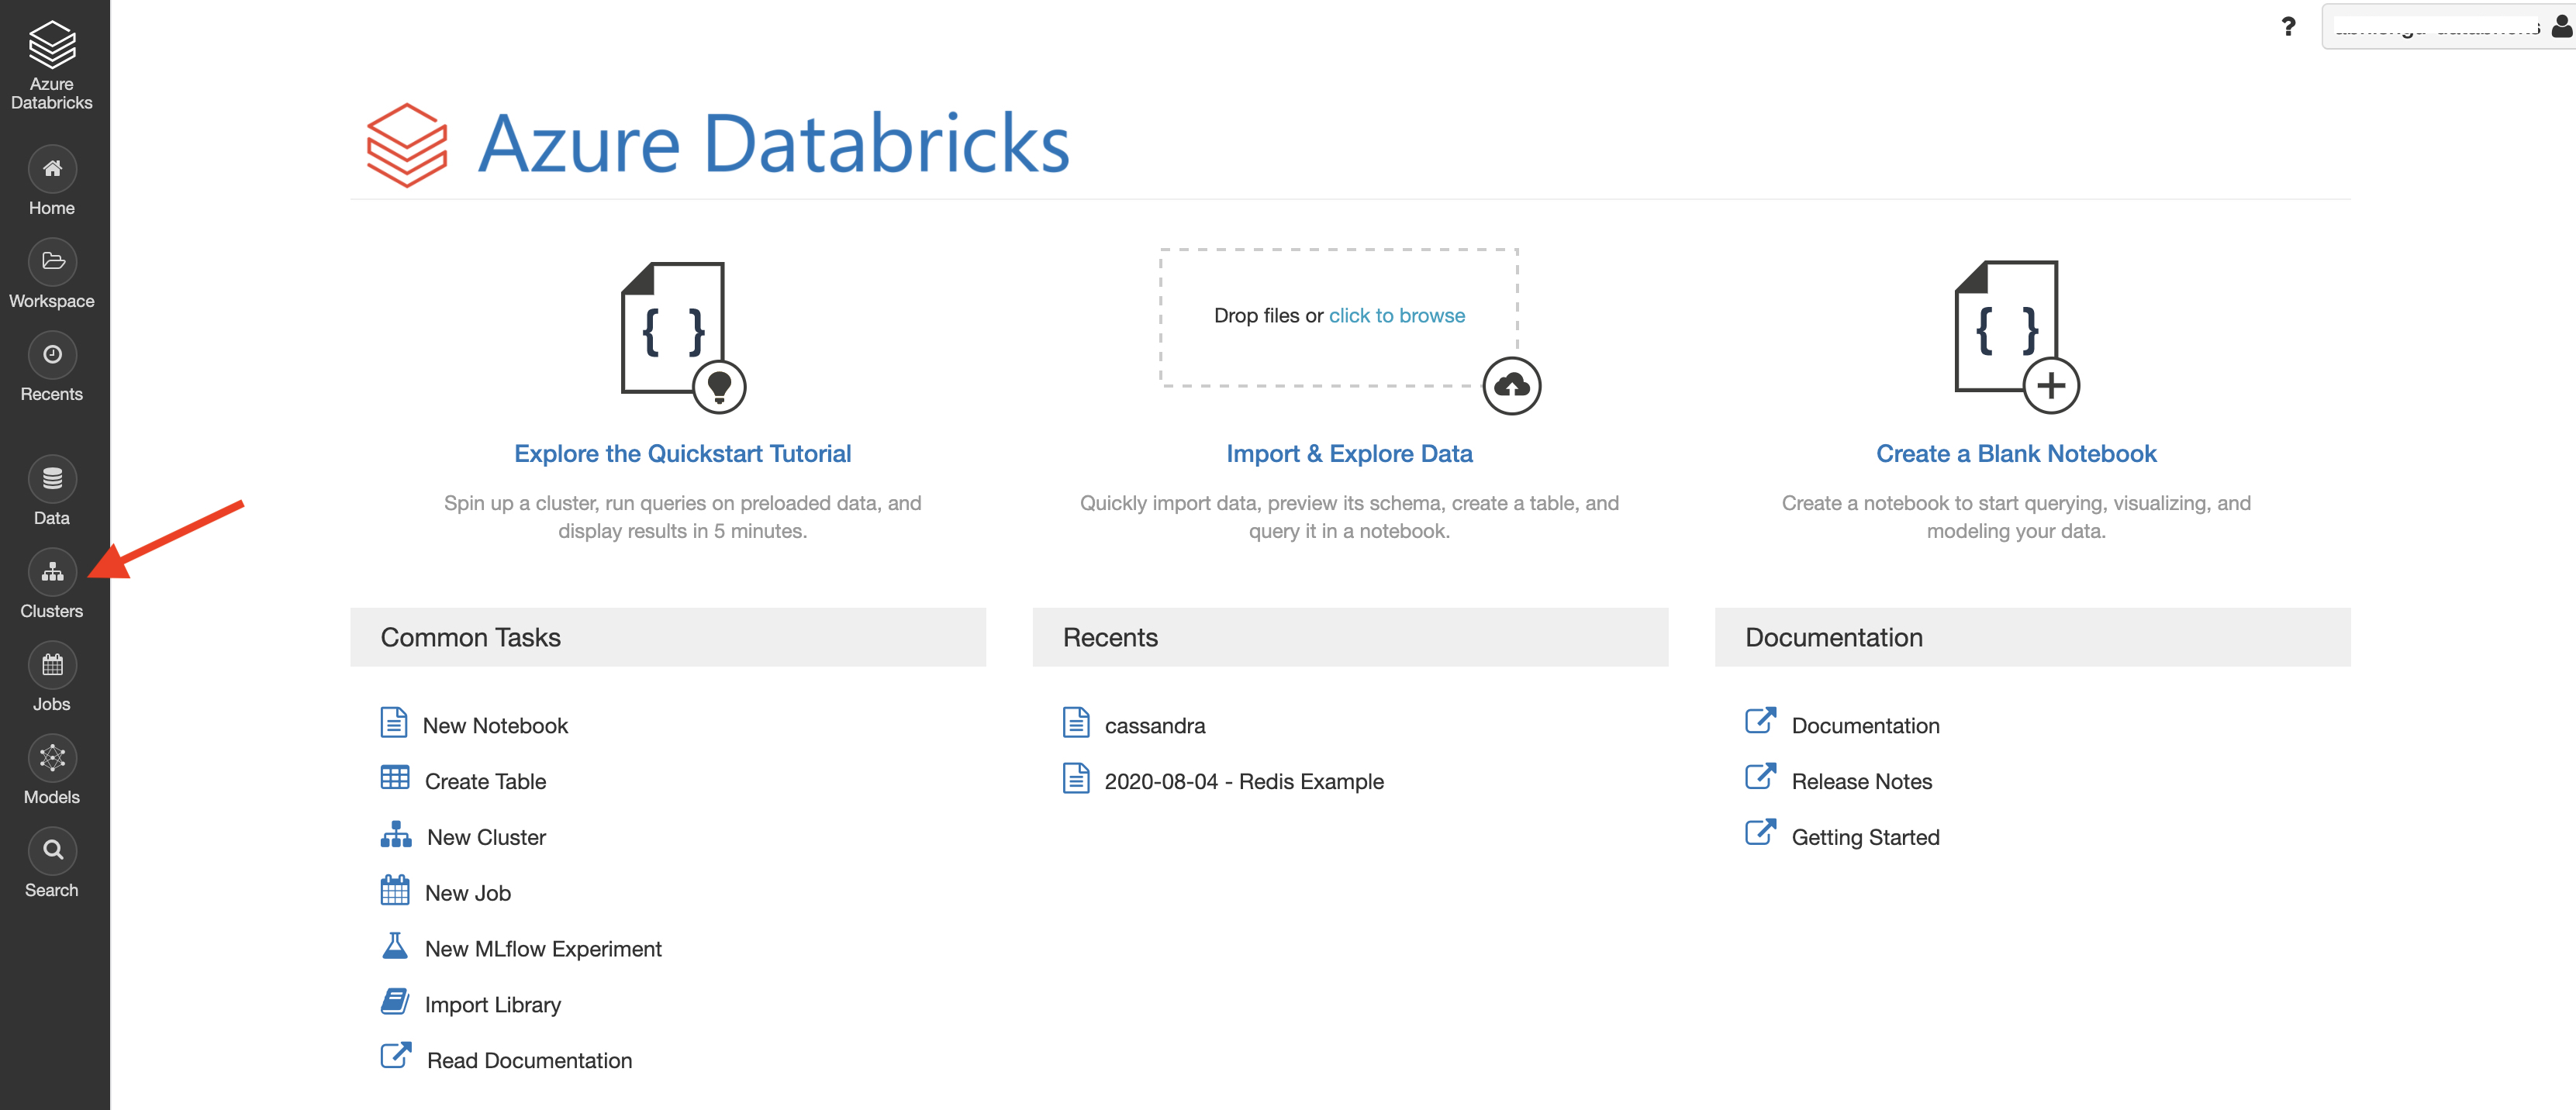
- Select Clusters
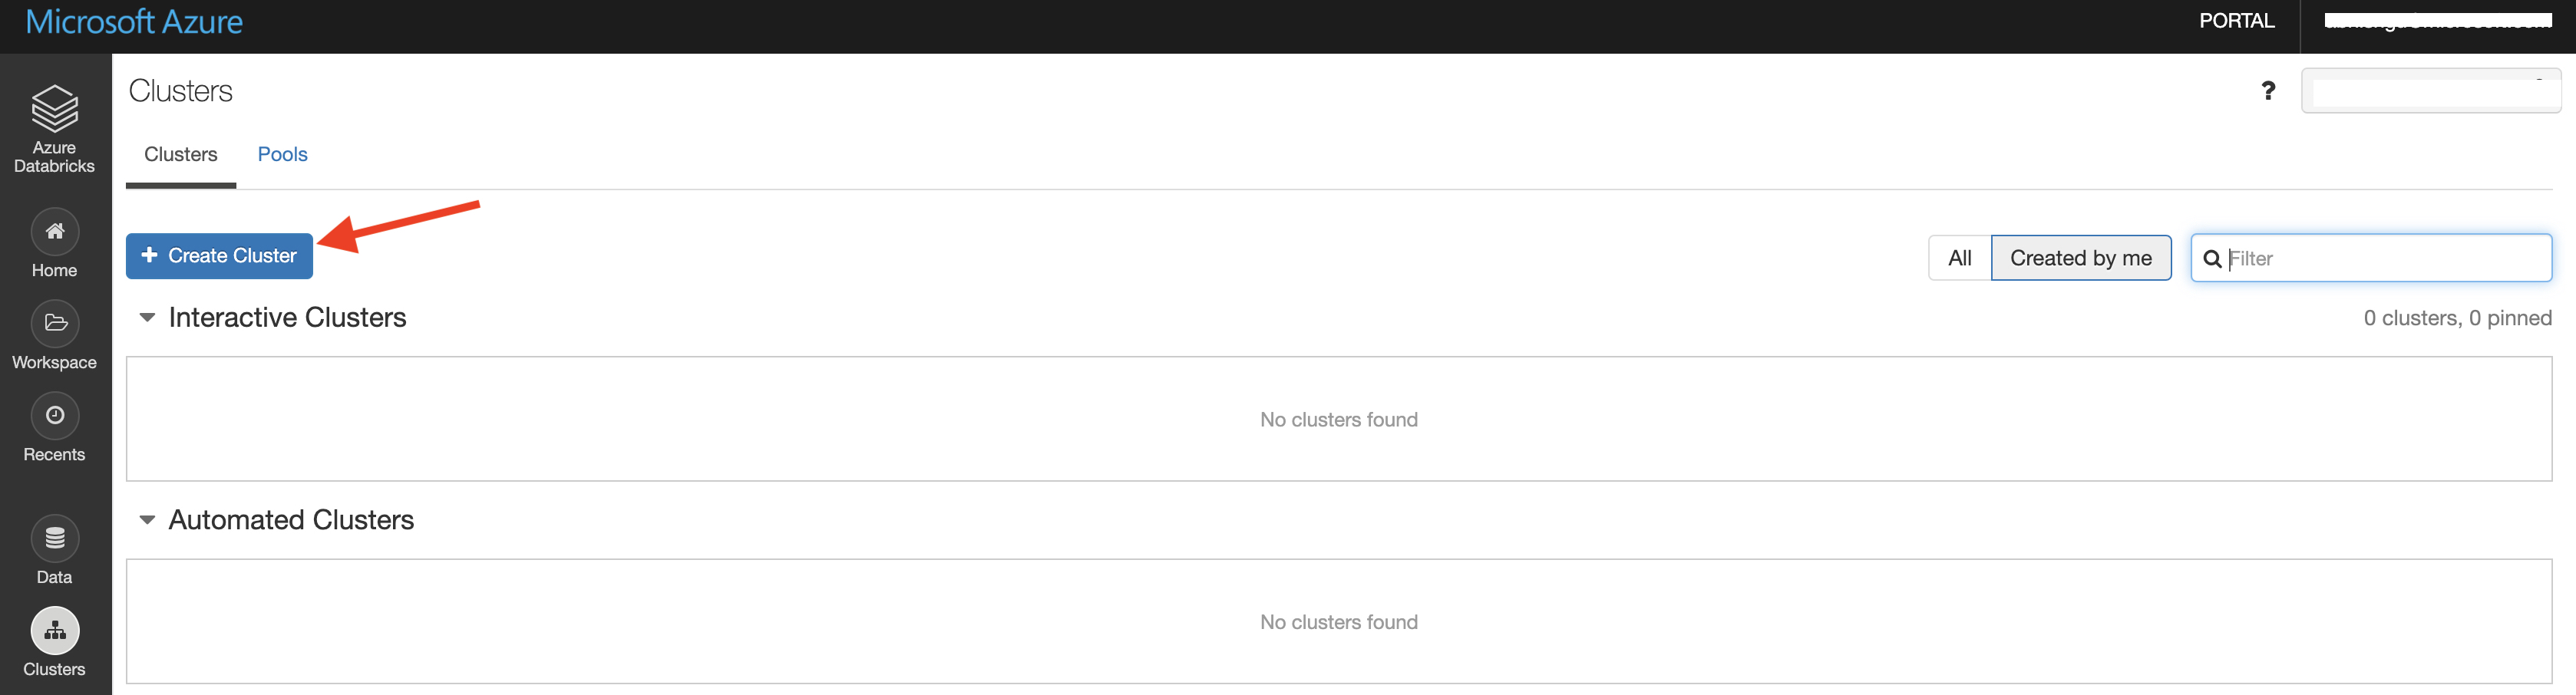
- Select Create Cluster
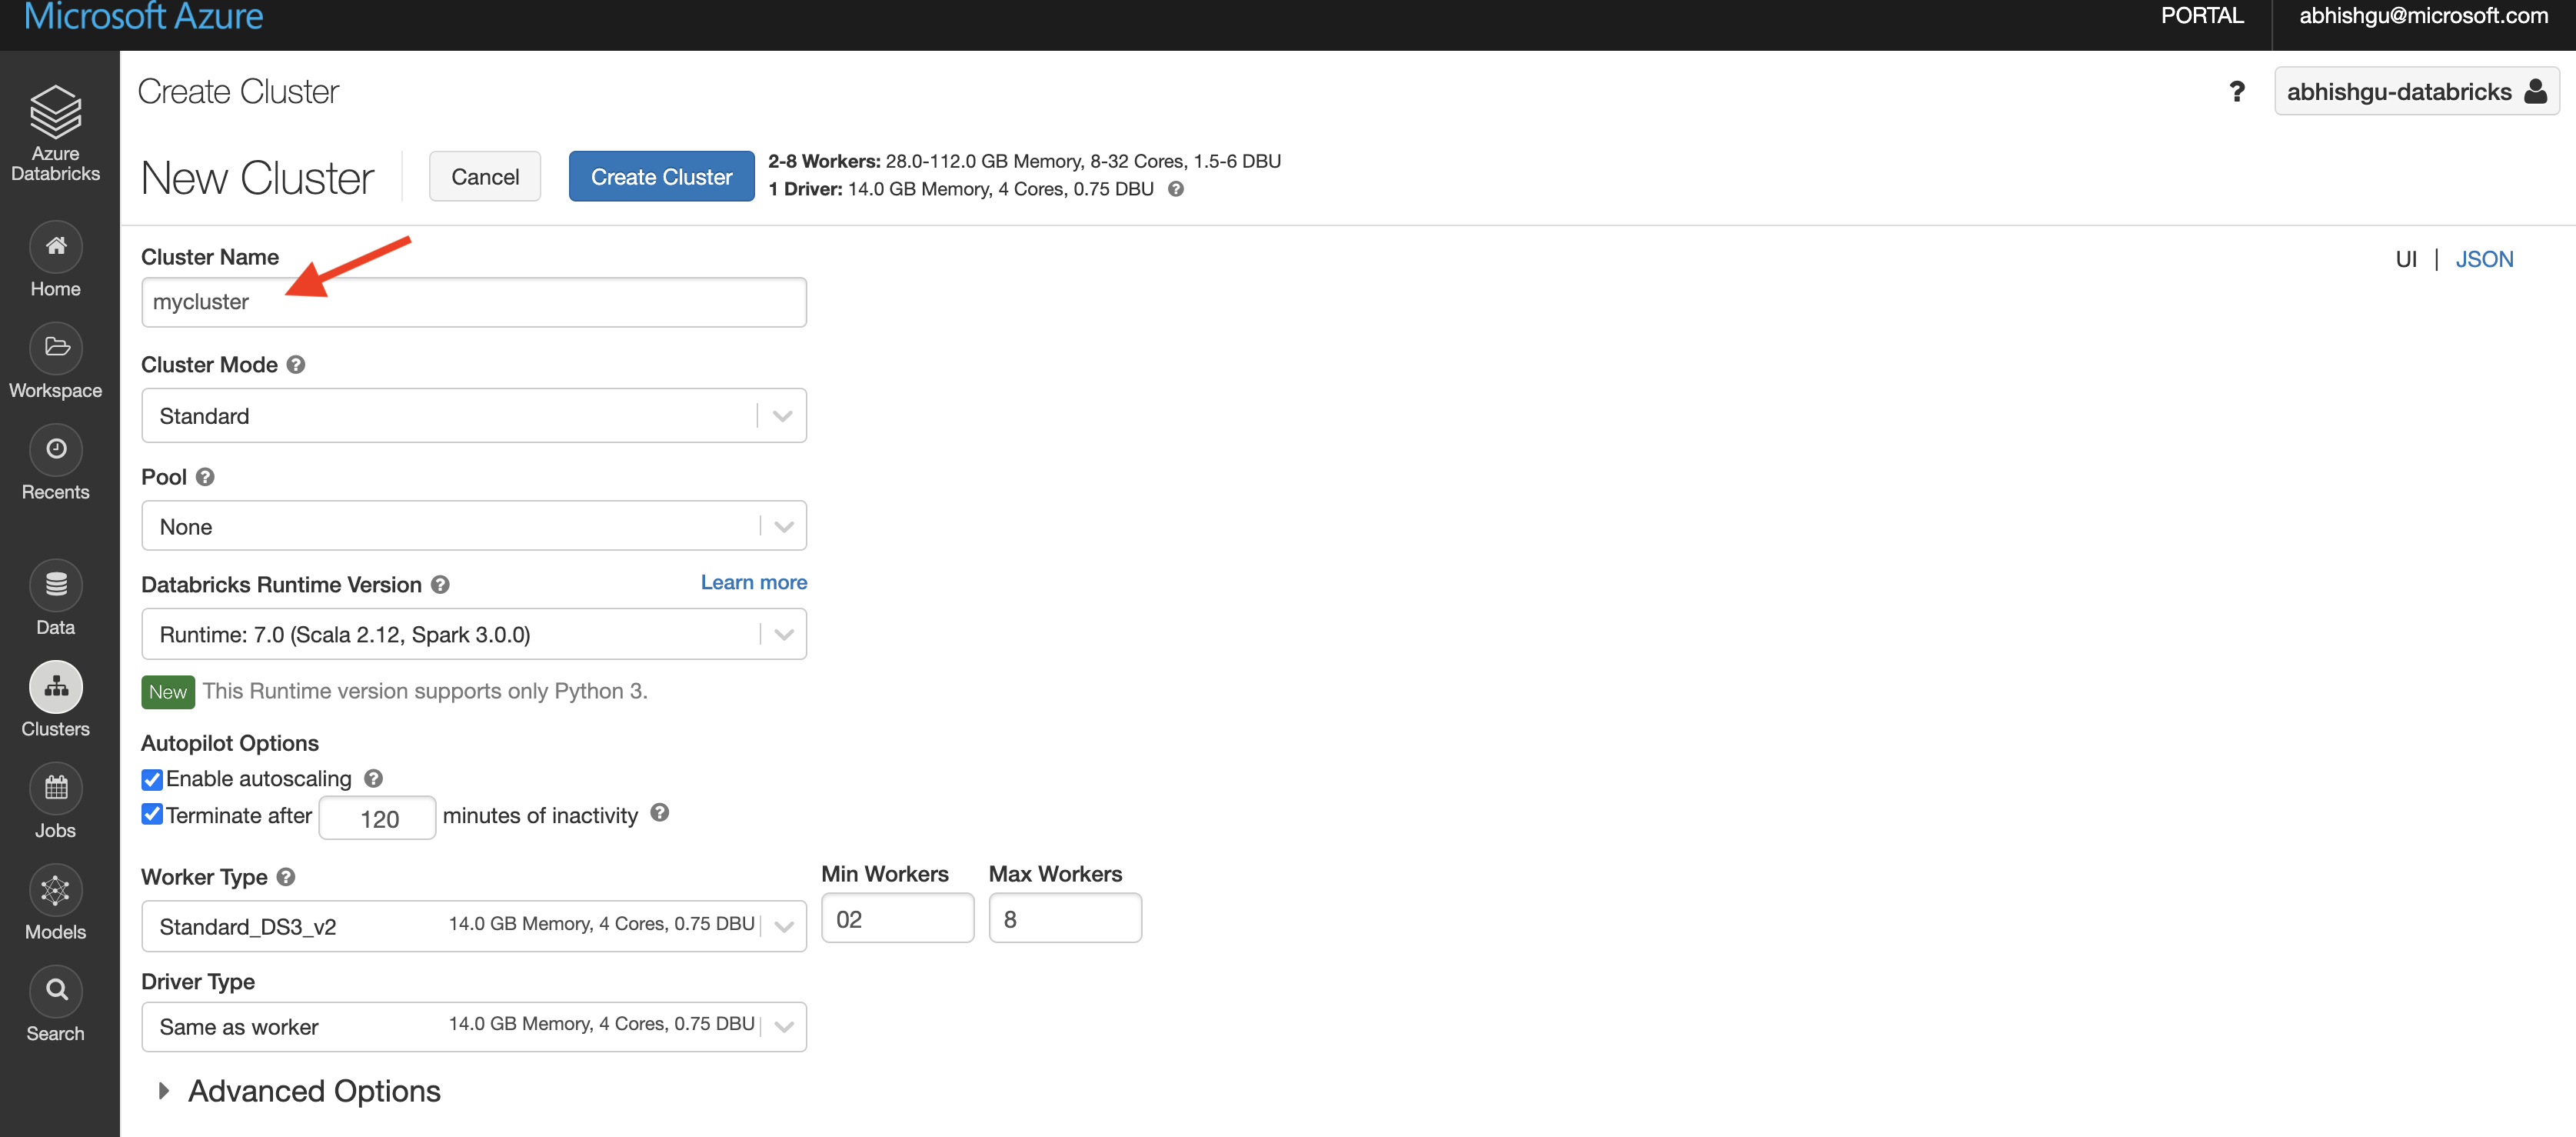
- Enter the
Cluster Name. Leave the other values unchanged
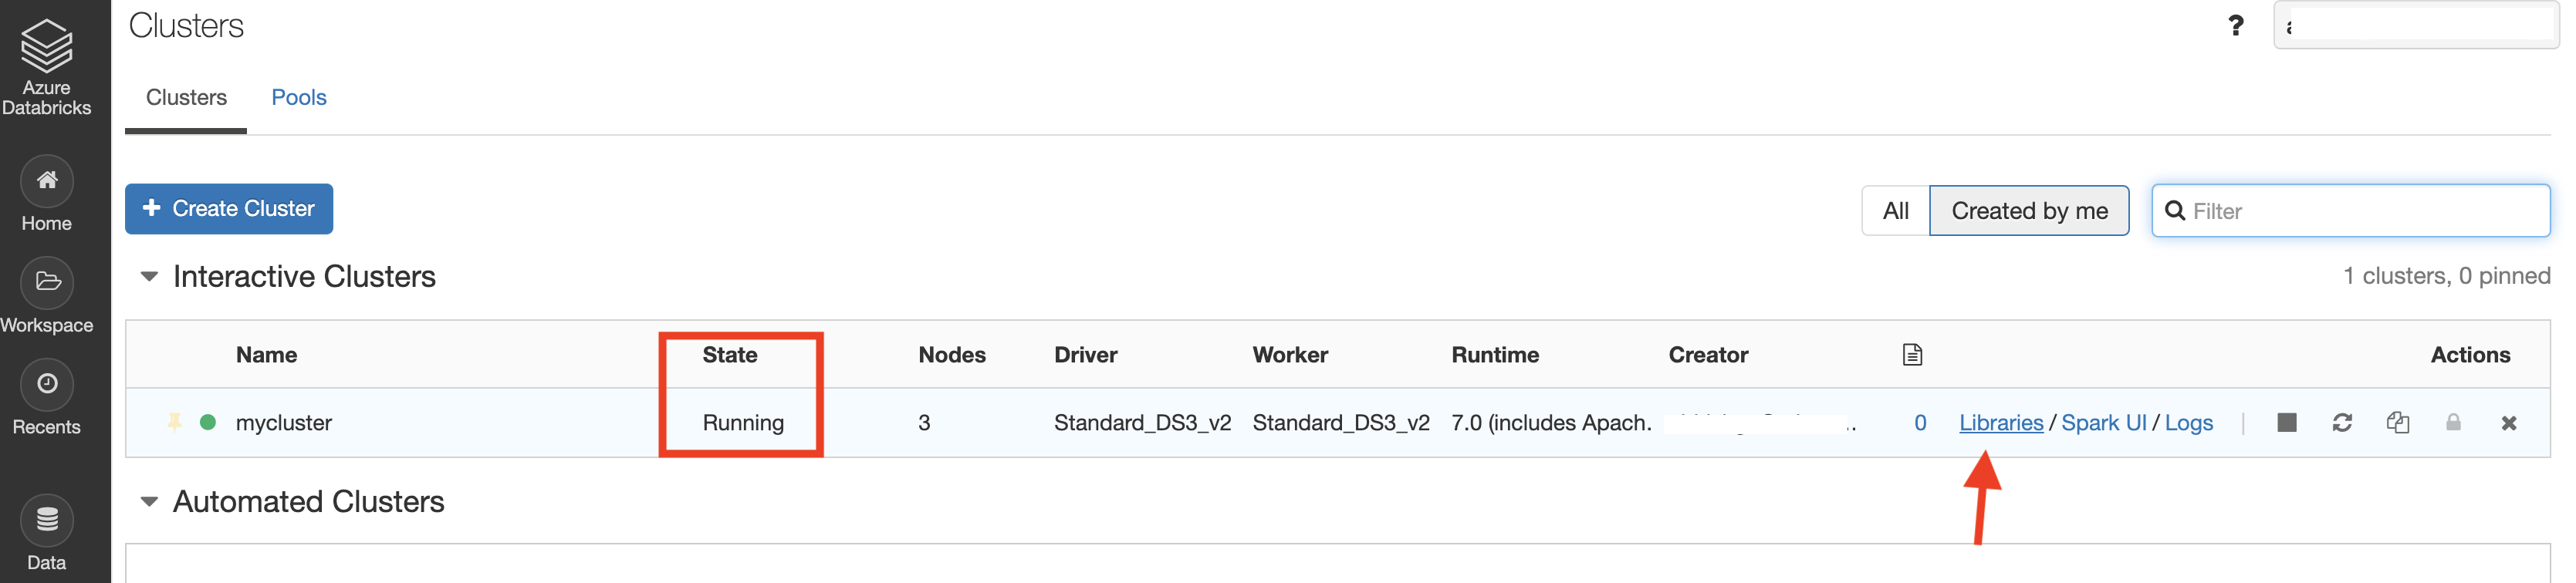
The cluster setup should start and will take a few minutes to complete.
Install library
In this section, you will install the DataStax Spark Cassandra connector library to your cluster.
Wait for the cluster setup to complete (the Status should be Running). Select the new cluster, then select Libraries
- Select Install New
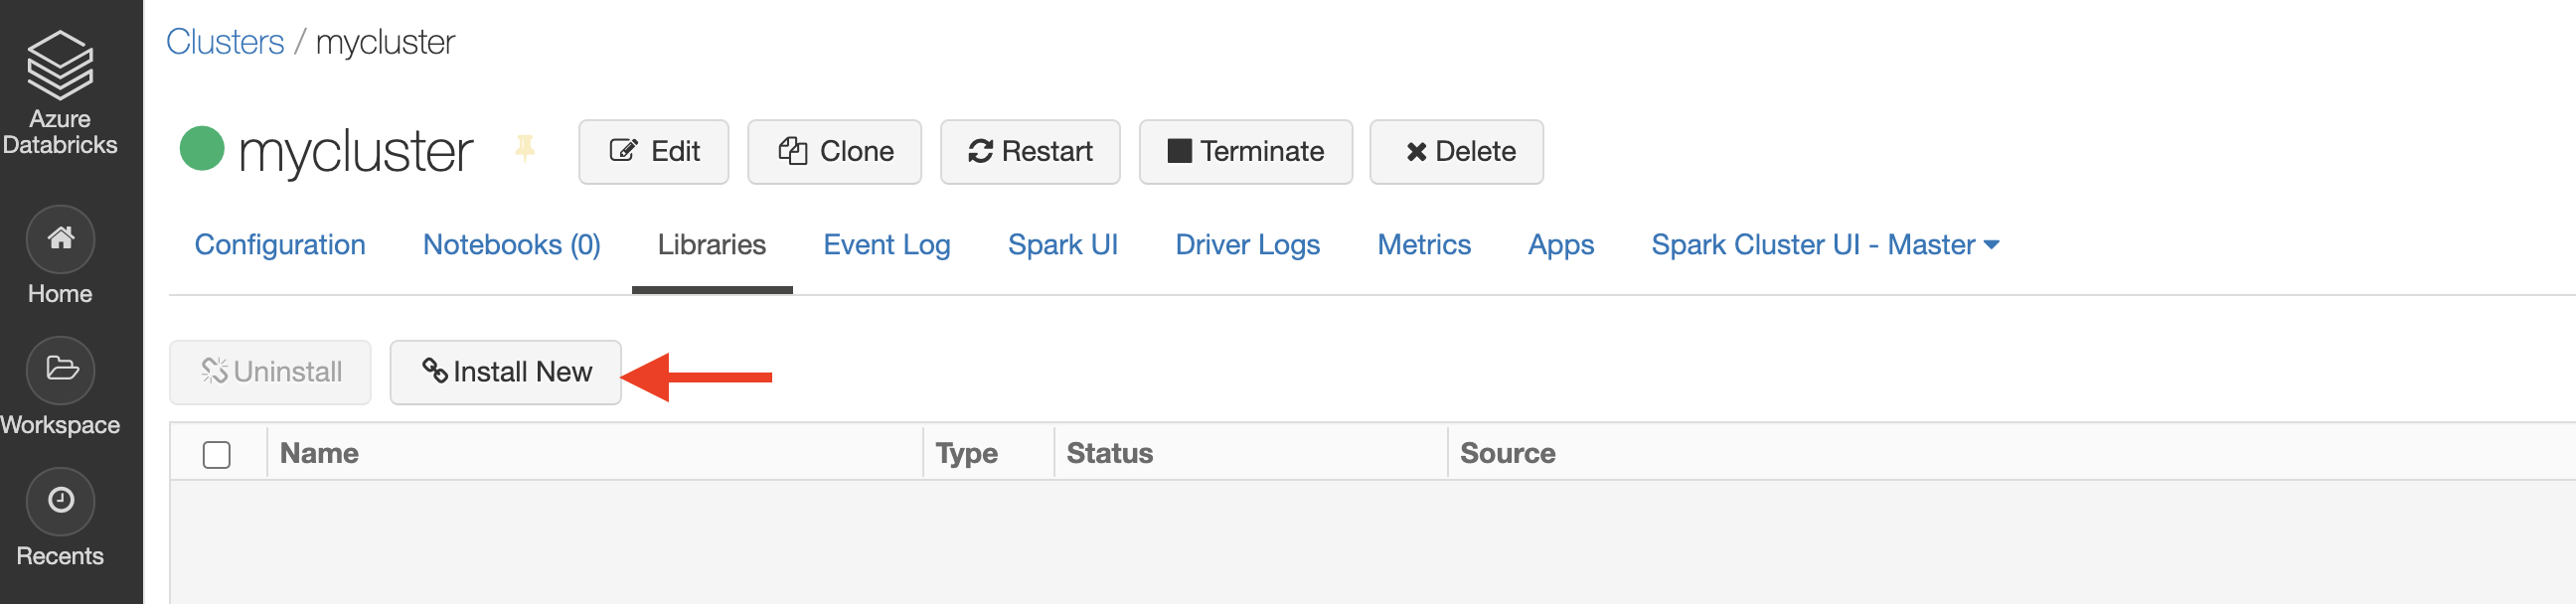
- For the library source, select Maven. For the coordinates, type
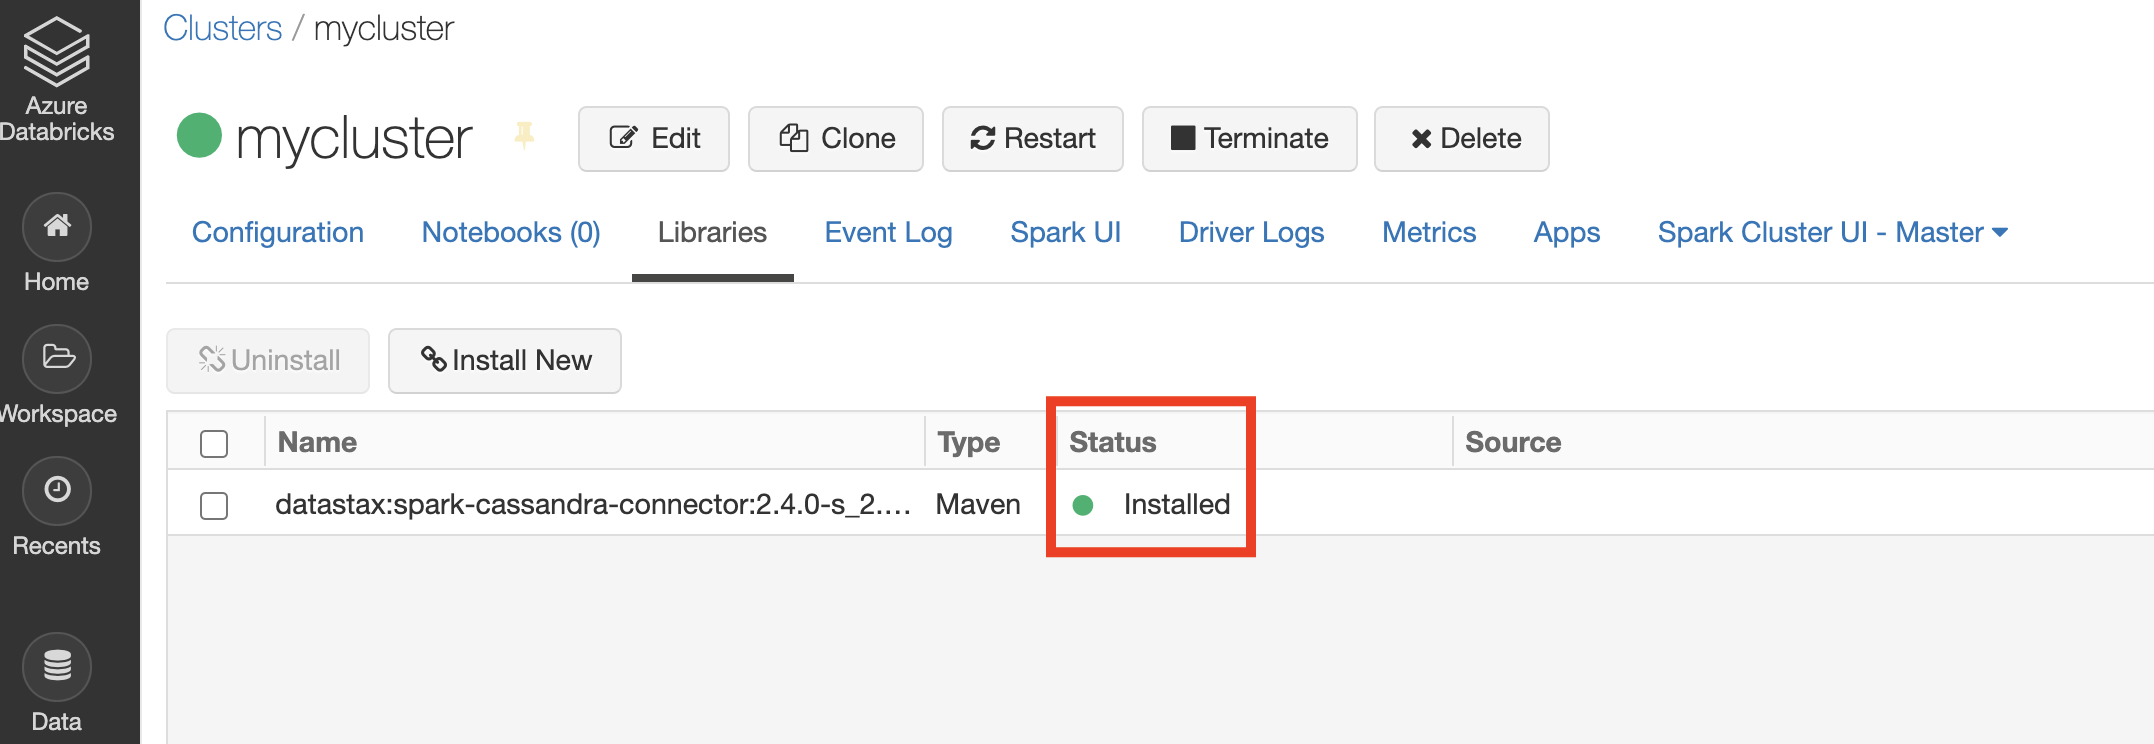
datastax:spark-cassandra-connector:2.4.0-s_2.11and select Install

Wait for the process to complete. The Status will change to Installed
Import data
In this section, you will go through the steps to import data into Azure Cosmos DB.
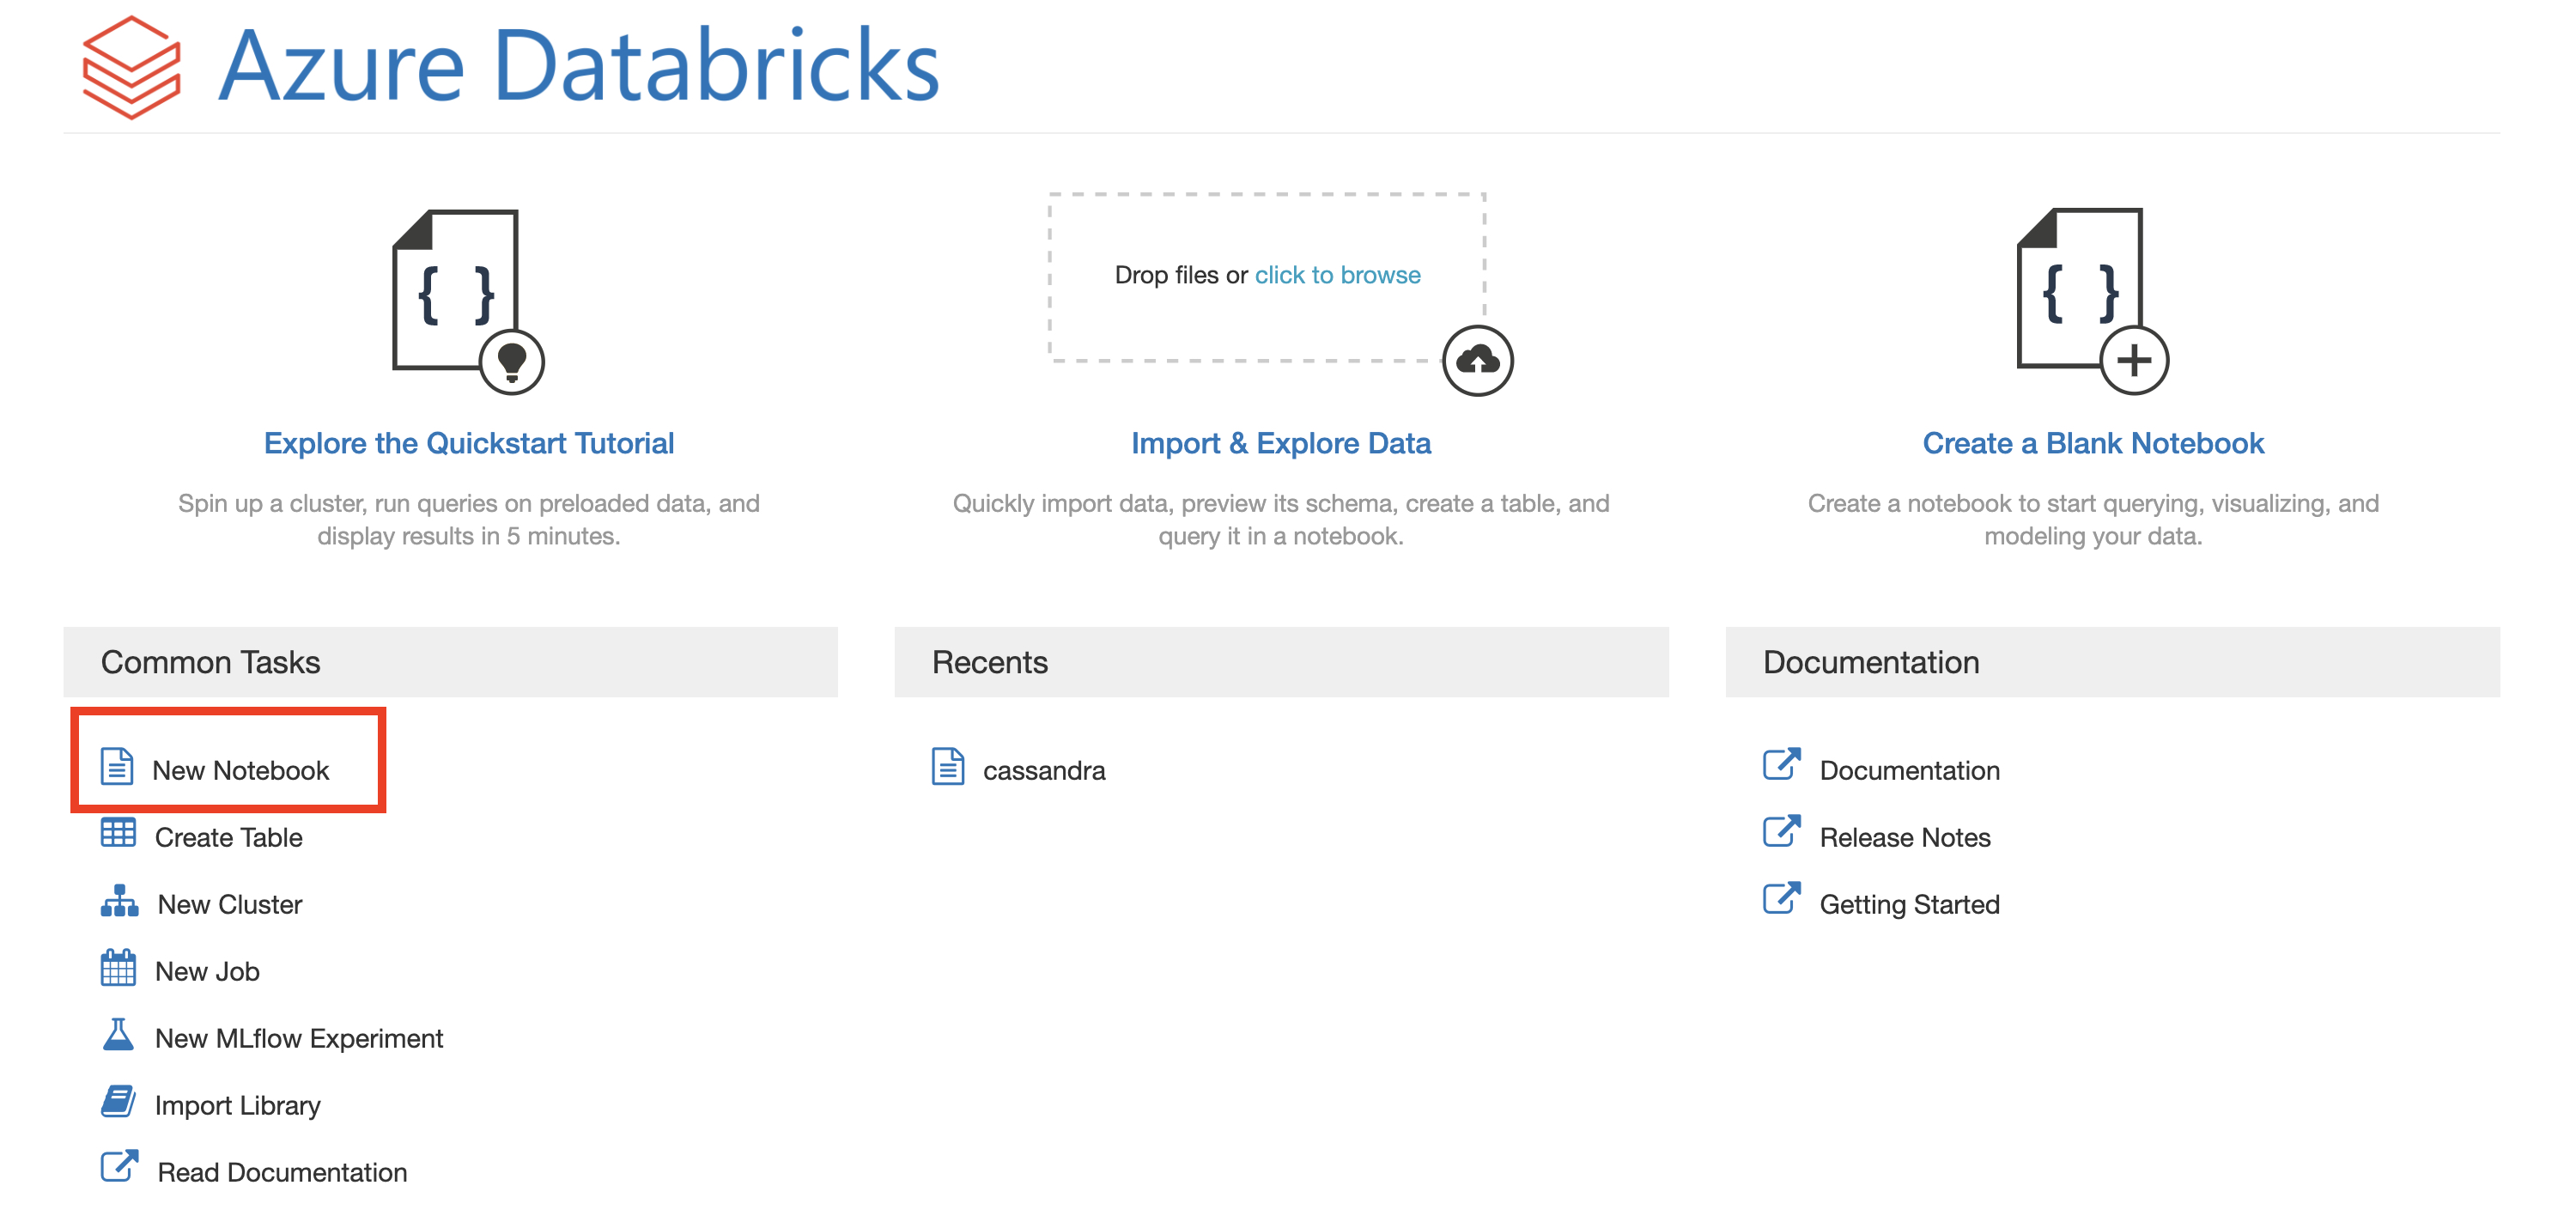
- In the left navigation, select Azure Databricks and New Notebook
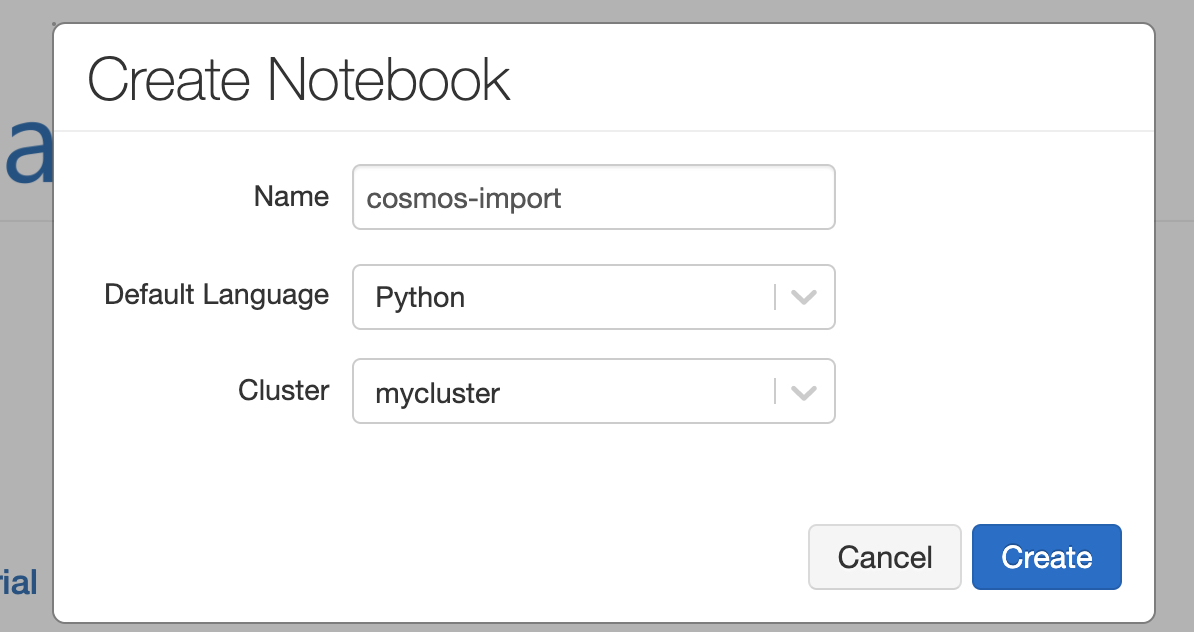
- For the name, type cosmos-import, leave the
Default Languageas Python and select the cluster you just created. SelectCreate
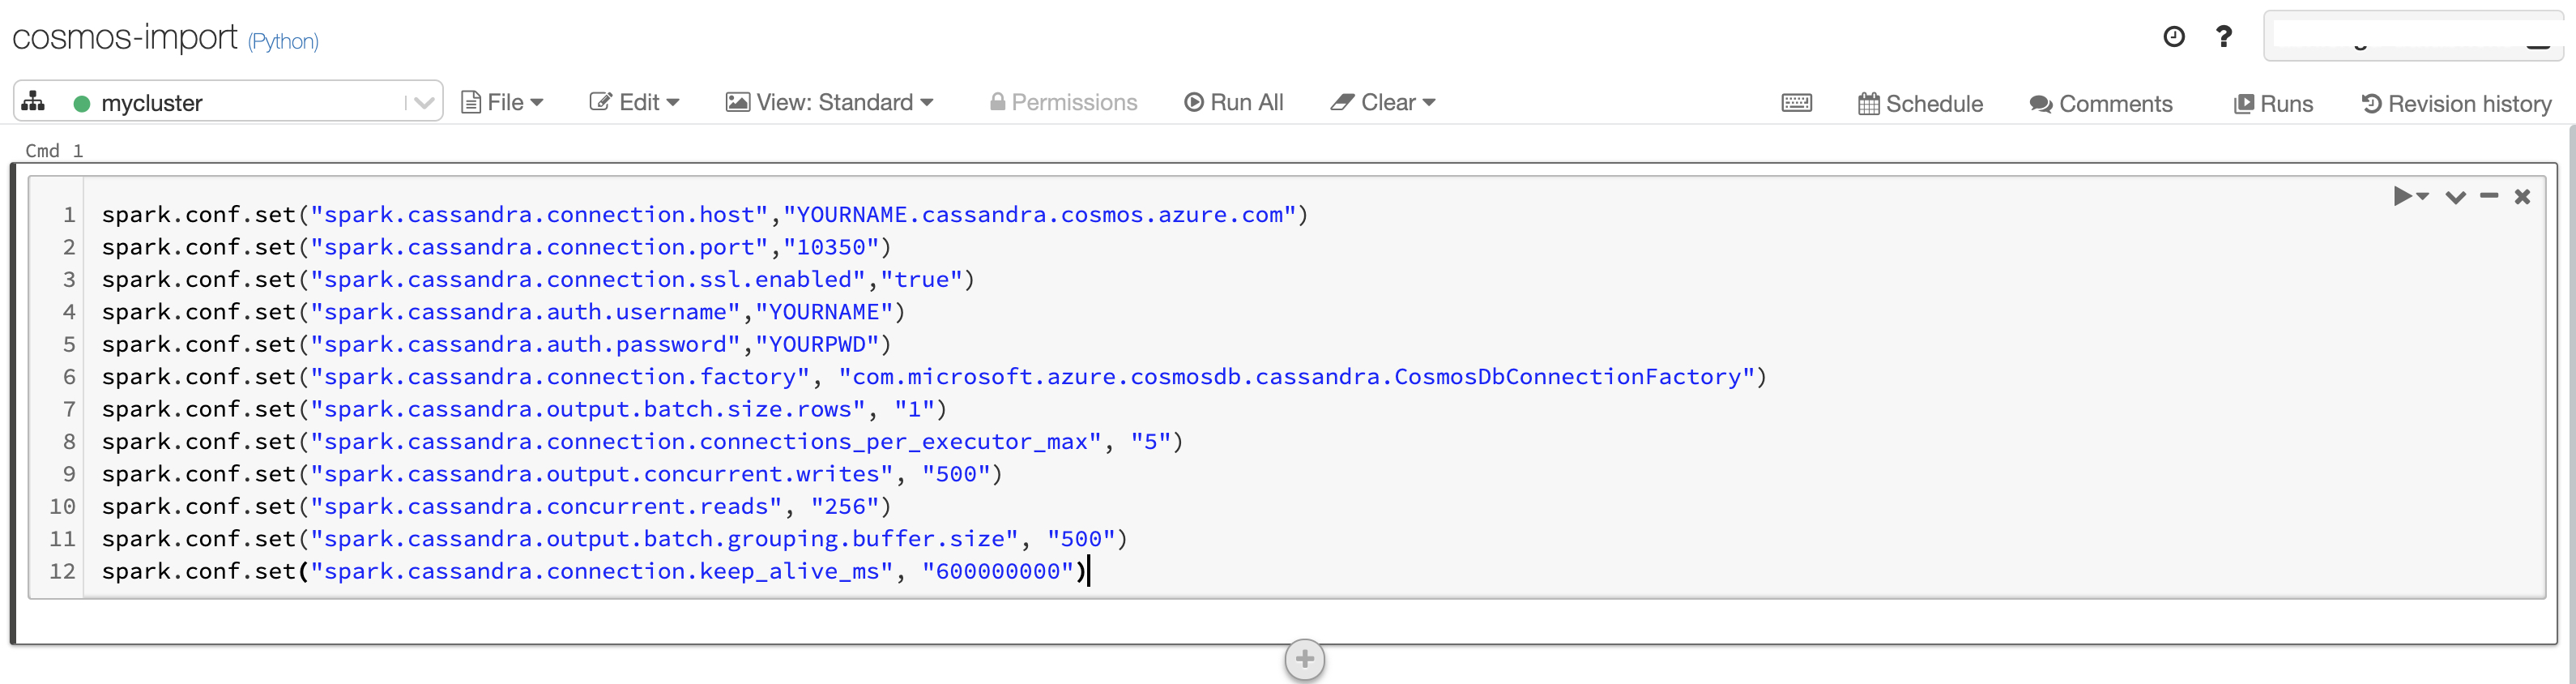
- Once the creation is complete, in the first cell of the notebook, type the following
spark.conf.set("spark.cassandra.connection.host","YOURNAME.cassandra.cosmos.azure.com")
spark.conf.set("spark.cassandra.connection.port","10350")
spark.conf.set("spark.cassandra.connection.ssl.enabled","true")
spark.conf.set("spark.cassandra.auth.username","YOURNAME")
spark.conf.set("spark.cassandra.auth.password","YOURPWD")
spark.conf.set("spark.cassandra.connection.factory", "com.microsoft.azure.cosmosdb.cassandra.CosmosDbConnectionFactory")
spark.conf.set("spark.cassandra.output.batch.size.rows", "1")
spark.conf.set("spark.cassandra.connection.connections_per_executor_max", "5")
spark.conf.set("spark.cassandra.output.concurrent.writes", "500")
spark.conf.set("spark.cassandra.concurrent.reads", "256")
spark.conf.set("spark.cassandra.output.batch.grouping.buffer.size", "500")
spark.conf.set("spark.cassandra.connection.keep_alive_ms", "600000000")
In the above code, replace YOURNAME with your Azure Cosmos DB username and YOURPWD with the password. To get this information, visit the Azure Cosmos DB account in the Azure portal.

This is what the notebook will look like once you enter the information in the first cell.
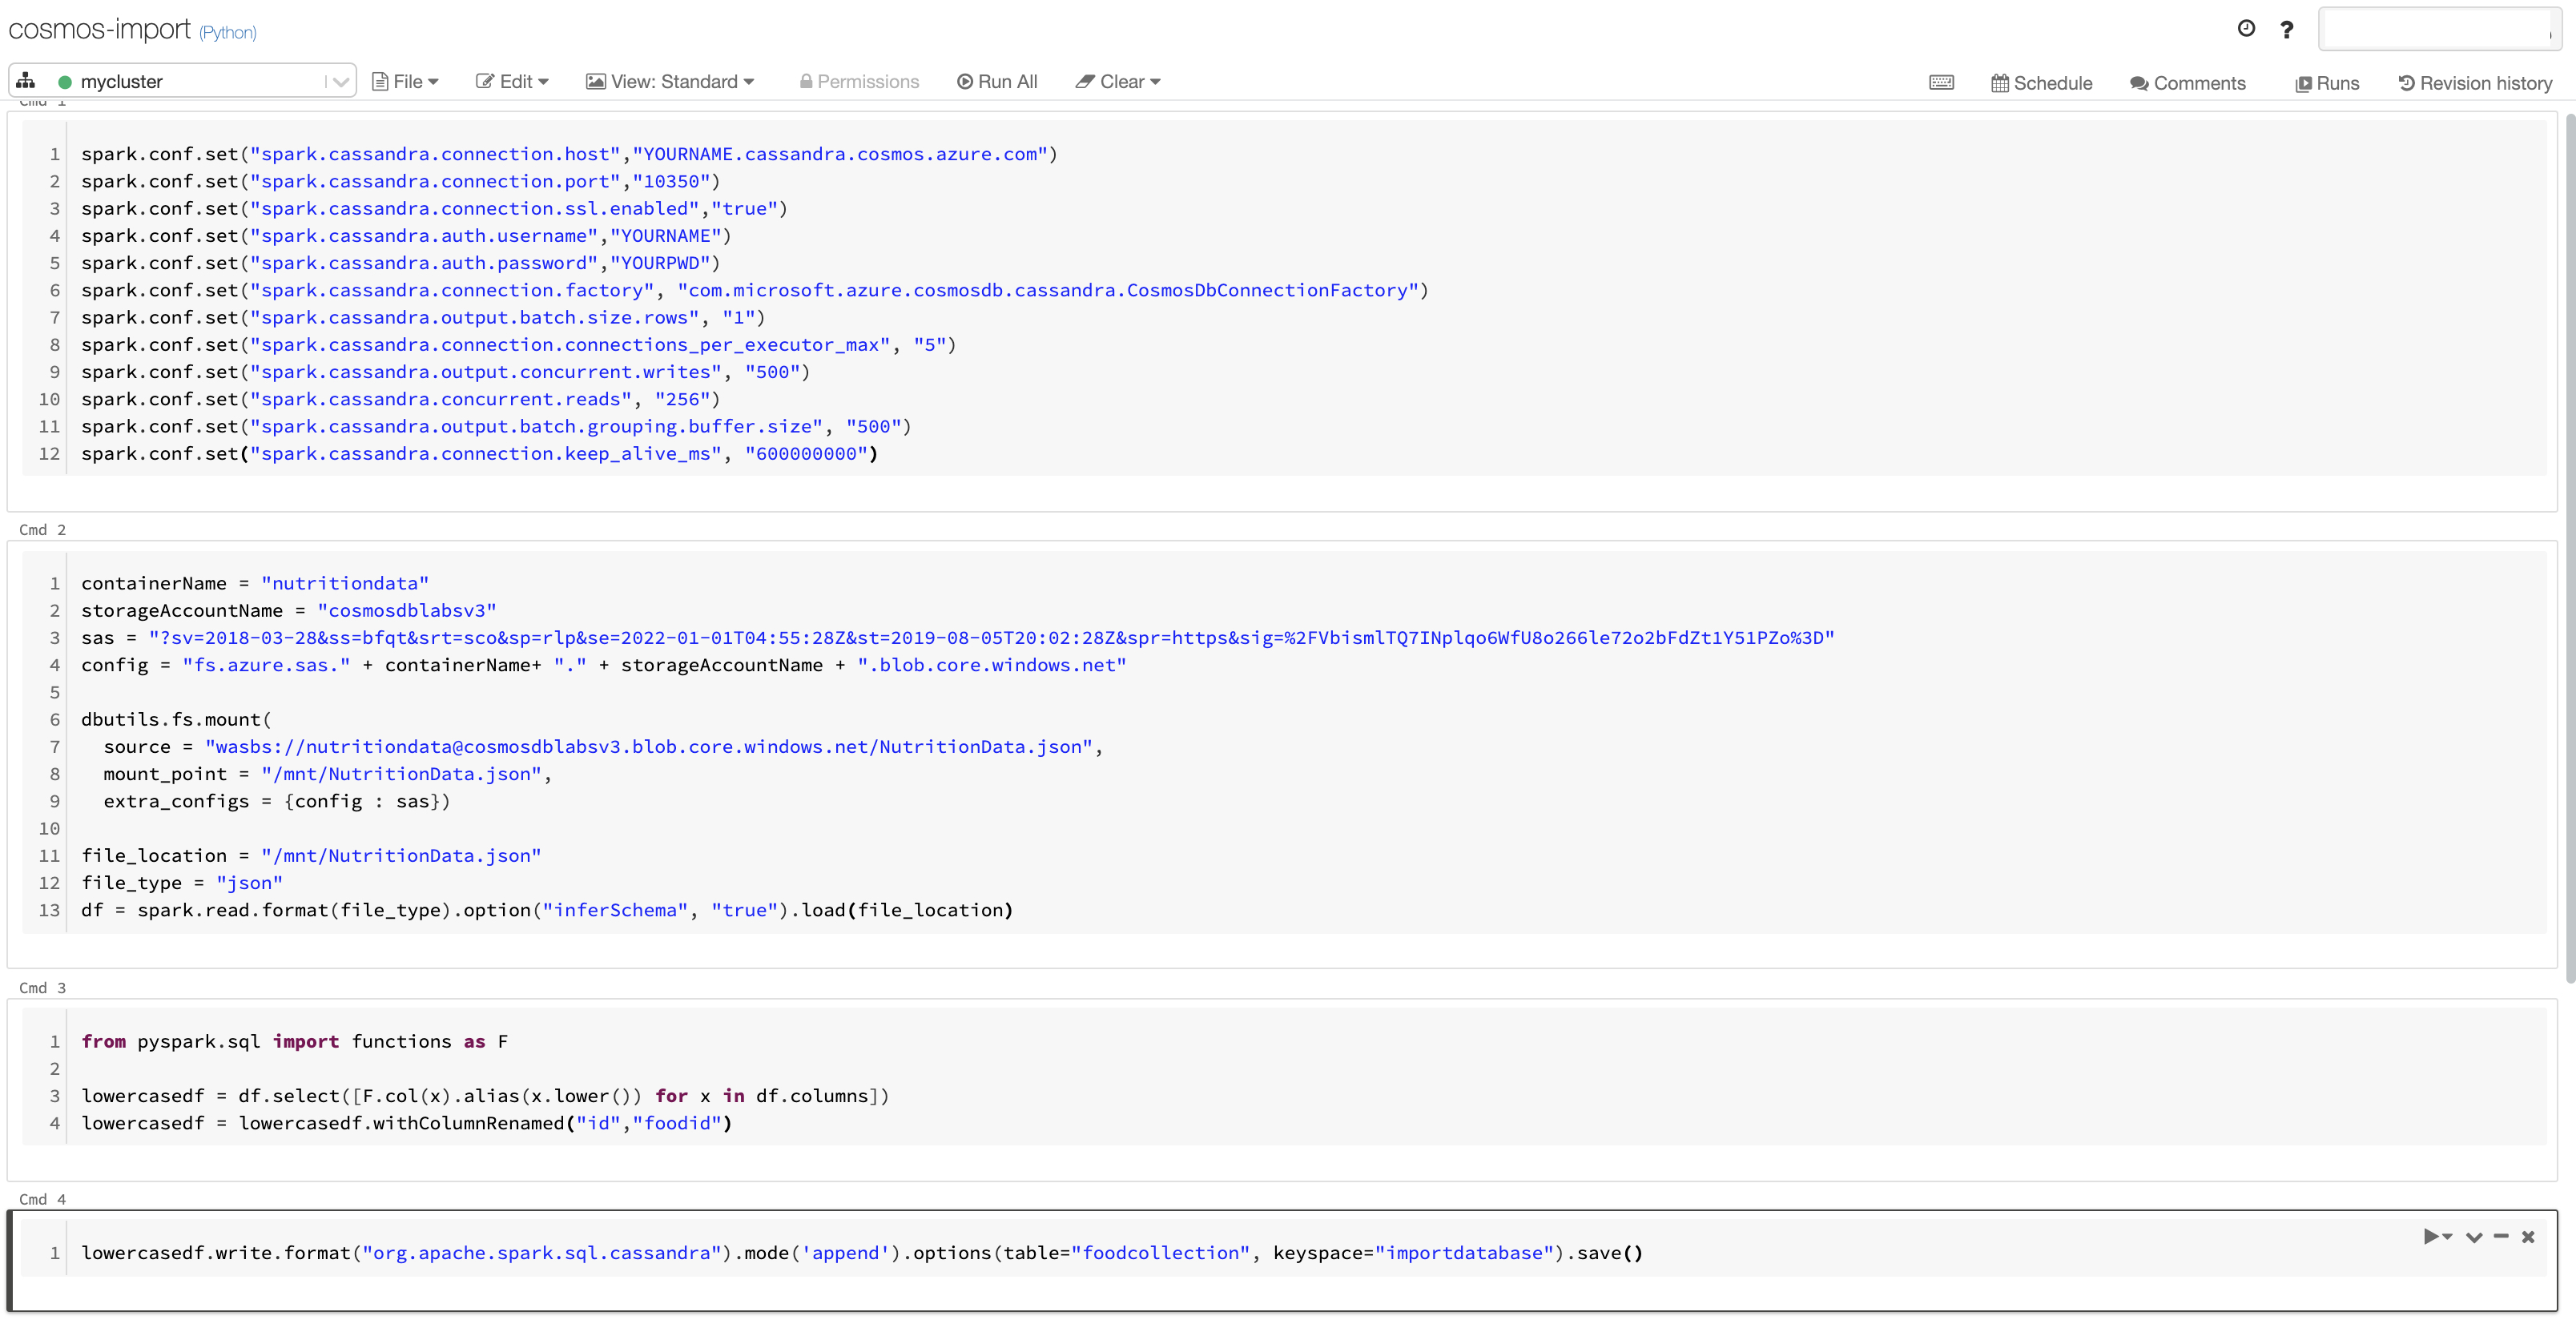
- Click the + sign to add a new cell, type the following
containerName = "nutritiondata"
storageAccountName = "cosmosdblabsv3"
sas = "?sv=2018-03-28&ss=bfqt&srt=sco&sp=rlp&se=2022-01-01T04:55:28Z&st=2019-08-05T20:02:28Z&spr=https&sig=%2FVbismlTQ7INplqo6WfU8o266le72o2bFdZt1Y51PZo%3D"
config = "fs.azure.sas." + containerName+ "." + storageAccountName + ".blob.core.windows.net"

dbutils.fs.mount(
  source = "wasbs://nutritiondata@cosmosdblabsv3.blob.core.windows.net/NutritionData.json",
  mount_point = "/mnt/NutritionData.json",
  extra_configs = {config : sas})

file_location = "/mnt/NutritionData.json"
file_type = "json"
df = spark.read.format(file_type).option("inferSchema", "true").load(file_location)
- Click the + sign to add a new cell, type the following
from pyspark.sql import functions as F

lowercasedf = df.select([F.col(x).alias(x.lower()) for x in df.columns])
lowercasedf = lowercasedf.withColumnRenamed("id","foodid")
- Click the + sign to add a new cell, type the following
lowercasedf.write.format("org.apache.spark.sql.cassandra").mode('append').options(table="foodcollection", keyspace="importdatabase").save()
This is what the notebook will look like once you finish entering the code snippets.
- Run all the cells one by one, starting with the first one
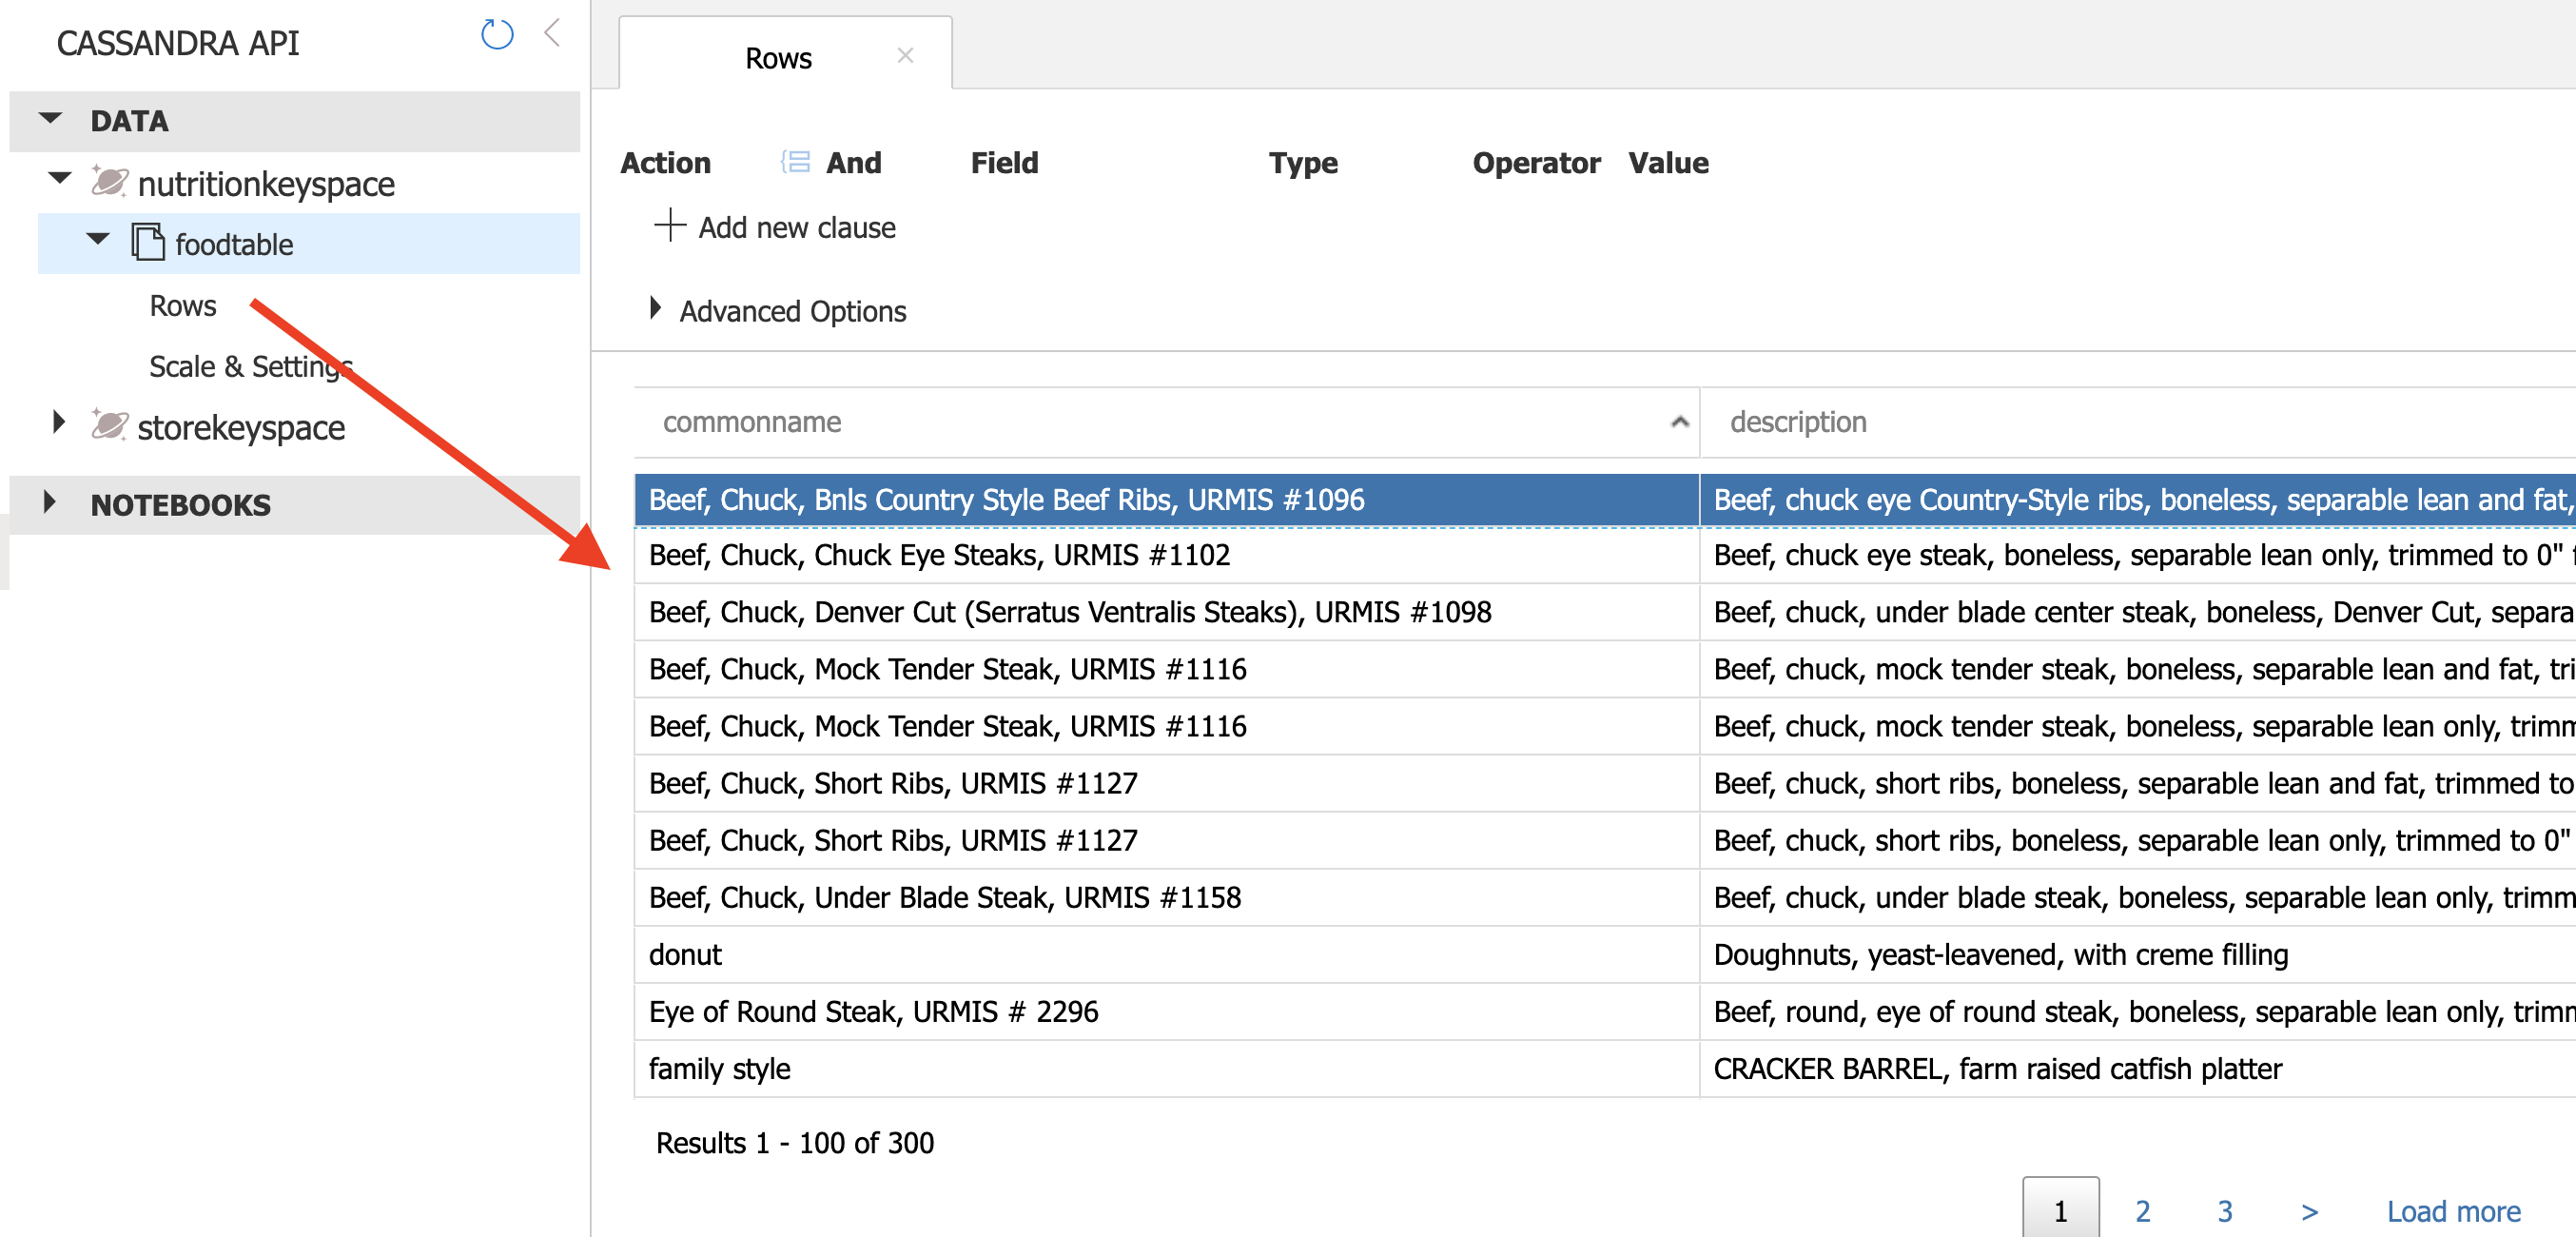
The data should now be imported in Azure Cosmos DB foodtable (in the nutritionkeyspace)
Validate Imported Data
The Azure Cosmos DB Data Explorer allows you to view documents and run queries directly within the Azure Portal. In this exercise, you will use the Data Explorer to view the data stored in our table.
You will validate that the data was successfully imported into your table using the Items view in the Data Explorer.
-
Return to the Azure Portal (http://portal.azure.com). On the left side of the portal, select the Resource groups link. In the Resource groups blade, locate and select the cosmoslabs resource group. In the cosmoslabs blade, select the Azure Cosmos DB account you recently created.
-
In the Azure Cosmos DB blade, locate and select the Data Explorer link on the left side of the blade. In the Data Explorer section, expand the nutritionkeyspace keyspace node and then expand the foodtable table node.
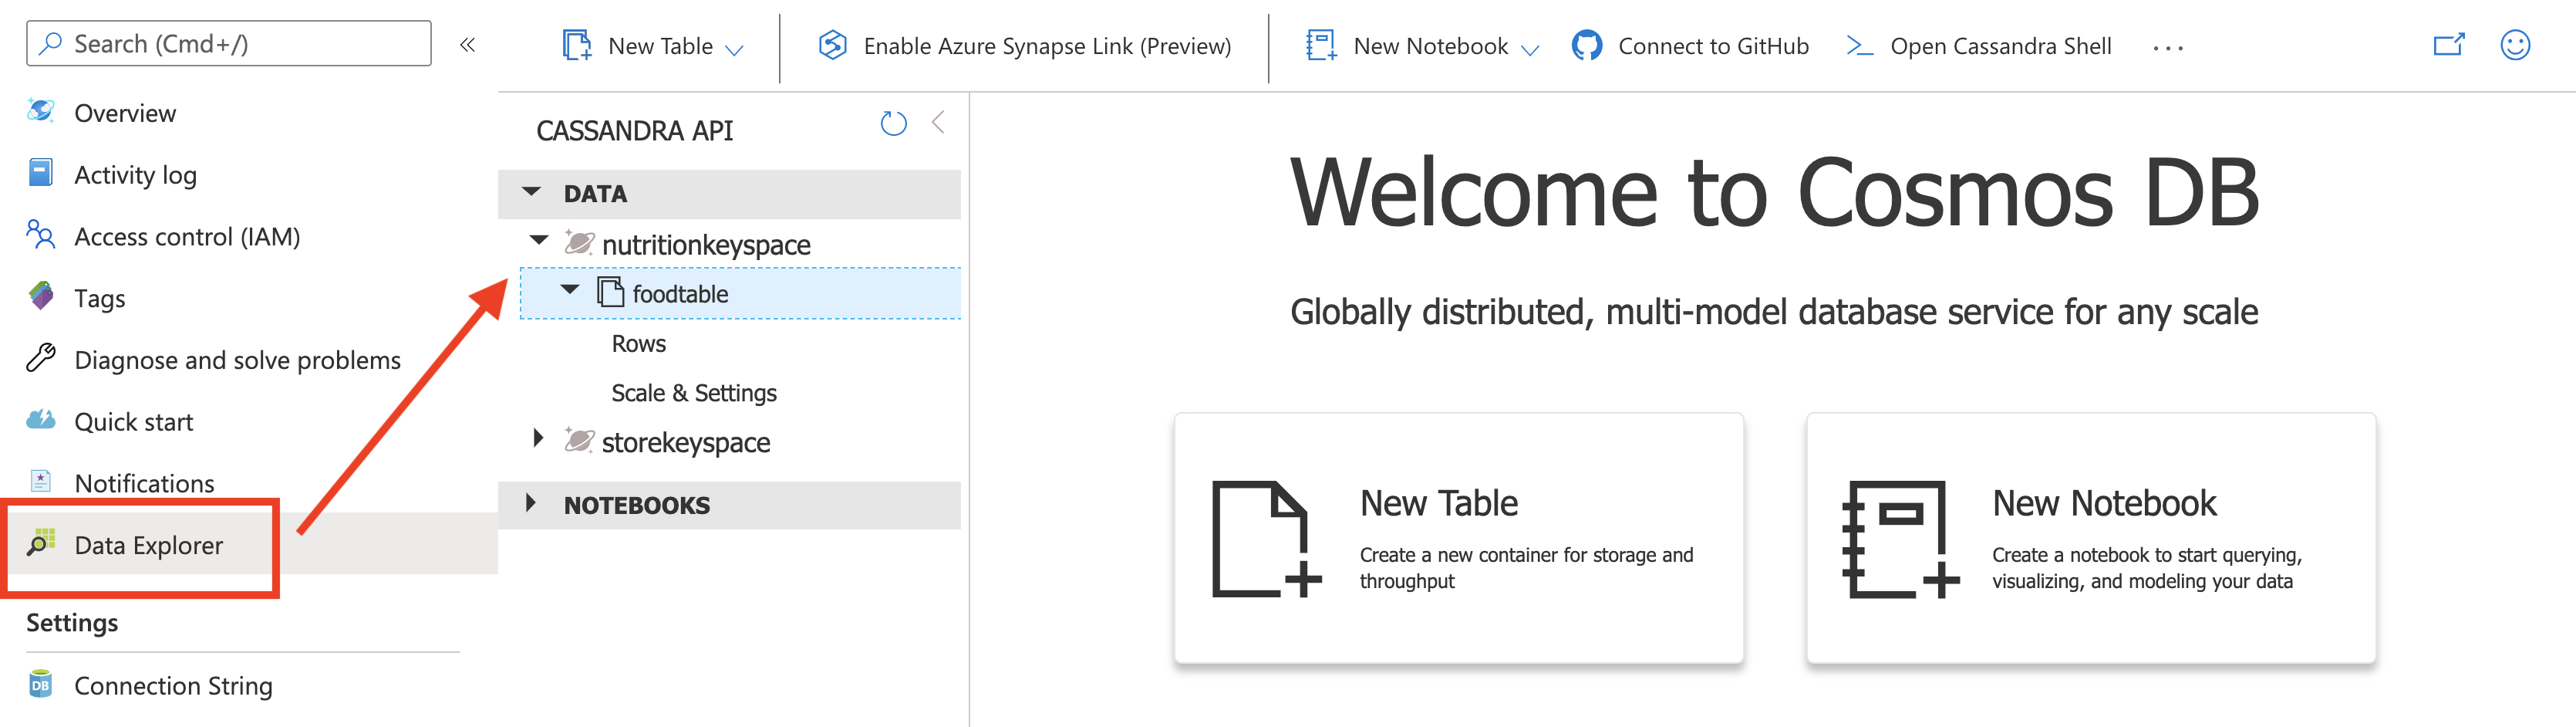
- Within the foodtable node, select the Rows link to view a subset of the various rows in the table. Select a few of the documents and observe the properties and structure of the documents.
If this is your final lab, follow the steps in Removing Lab Assets to remove all lab resources.
More Resources
- https://docs.microsoft.com/en-us/azure/cosmos-db/cassandra-spark-create-ops
- https://stackoverflow.com/questions/29924525/failed-to-write-statements/36110970
- https://docs.microsoft.com/en-us/azure/cosmos-db/cassandra-spark-table-copy-ops